

 中文
中文 
Feelup deepin
2025-12-28 07:23 deepin 哇,这个厉害
Reply Like 0 View the author
 deepin
 哇,这个厉害

 deepin
 非常好。
 deepin
最后一行的汉字是乱码
deepin 将
MENU LABEL deepin 安装到硬盘 [BIOS/ISOLINUX]
修改为
MENU LABEL Install Deepin on the hard drive [BIOS/ISOLINUX]

 deepin
最后一行的汉字是乱码
直接终端运行永久默认中文编码,避免后续镜像英文 / 乱码
sed -i 's/LOCALES=${LOCALES:-en-US.UTF-8}/LOCALES=${LOCALES:-zh_CN.UTF-8}/g' /root/iso-build-deepin/build
自己踏出了个大坑,替大家踩坑了。live桌面进不去,安装不了。流程是这个流程。就是配置不知道怎么配置,比如安装所需的配置,硬件的配置等等。

deepin 自己踏出了个大坑,替大家踩坑了。live桌面进不去,安装不了。流程是这个流程。就是配置不知道怎么配置,比如安装所需的配置,硬件的配置等等。
我刚才也试了,三种模式选择项都进不去。
deepin 恢复原来普通用户下模式,感觉不用那么大的修改,应该可以。
deepin 恢复原来普通用户下模式,感觉不用那么大的修改,应该可以。
最好用默认的
其他的只添加个用户和密码其他的不动试试
把下面这个跳过去
删除原来的镜像封装脚本iso
rm -r /root/iso-build-deepin/tools/iso
重新创建 nano /root/iso-build-deepin/tools/iso
新增「安装系统到硬盘」启动项(BIOS+EFI 双菜单适配)
复制以下完整脚本代码 → 粘贴到编辑器 → 按 Ctrl+O → 回车 → Ctrl+X 保存退出。
#!/bin/bash

set -u

function generate_isolinux_cfg() {
    sudo tee $ISOLINUX_CFG <
 deepin
 最好用默认的
其他的只添加个用户和密码其他的不动试试
把下面这个跳过去
删除原来的镜像封装脚本iso
rm -r /root/iso-build-deepin/tools/iso
重新创建 nano /root/iso-build-deepin/tools/iso
新增「安装系统到硬盘」启动项(BIOS+EFI 双菜单适配)
复制以下完整脚本代码 → 粘贴到编辑器 → 按 Ctrl+O → 回车 → Ctrl+X 保存退出。
#!/bin/bash

set -u

function generate_isolinux_cfg() {
    sudo tee $ISOLINUX_CFG <
早用上了,没有任何问题

 deepin
 这个好
Popular Ranking
ChangePopular Events
More

[深度探索] deepin25 不带磐石的镜像
技术交流 2857 次浏览 · 56 个回复 · 举报
电梯直达到第[ ] 楼确定
煊 deepin
发表于 2025-07-17 14:10
楼主
deepin25 带了磐石给开发者使用不是很方便,写了个构建镜像的脚本,不带磐石。
有需要的开发者可以试试。部分应用没有安装,玲珑应用没有预装(玲珑命令行工具预装了)。如需进一步自定义镜像(如添加预装软件),可修改仓库内
config/base_package.txt或config/desktop_package.txt中的包列表不适合生产办公用户
https://github.com/chenchongbiao/iso-build-deepin
deepin25 关闭磐石保护,并重新启动系统
1更新系统
sudo apt update && sudo apt dist-upgrade -y
2:安装所需依赖
sudo apt install -y live-build debootstrap squashfs-tools xorriso grub-efi-amd64-bin grub-pc-bin mtools dosfstools qemu-user-static binfmt-support git curl wget unzip grub-common grub2-common lightdm locales
3:克隆构建仓库 + 清理旧目录(避免冲突)
如果之前构建过镜像先清理可能存在的旧仓库(防止新旧文件冲突)第一次可以忽略
克隆大佬的构建仓库
备份仓库 cp -rp iso-build-deepin iso-build-deepin-backup
(如果出现错误需要重新来。可以删除构建仓库rm -rf iso-build-deepin,从备份还原cp -rp iso-build-deepin-backup iso-build-deepin,比时断时续的外网快)
进入仓库目录(后续所有操作都在这个目录里执行)
cd iso-build-deepin
设置系统为中文,默认为 en_US.UTF-8
export LOCALES=zh_CN.UTF-8
开始生成
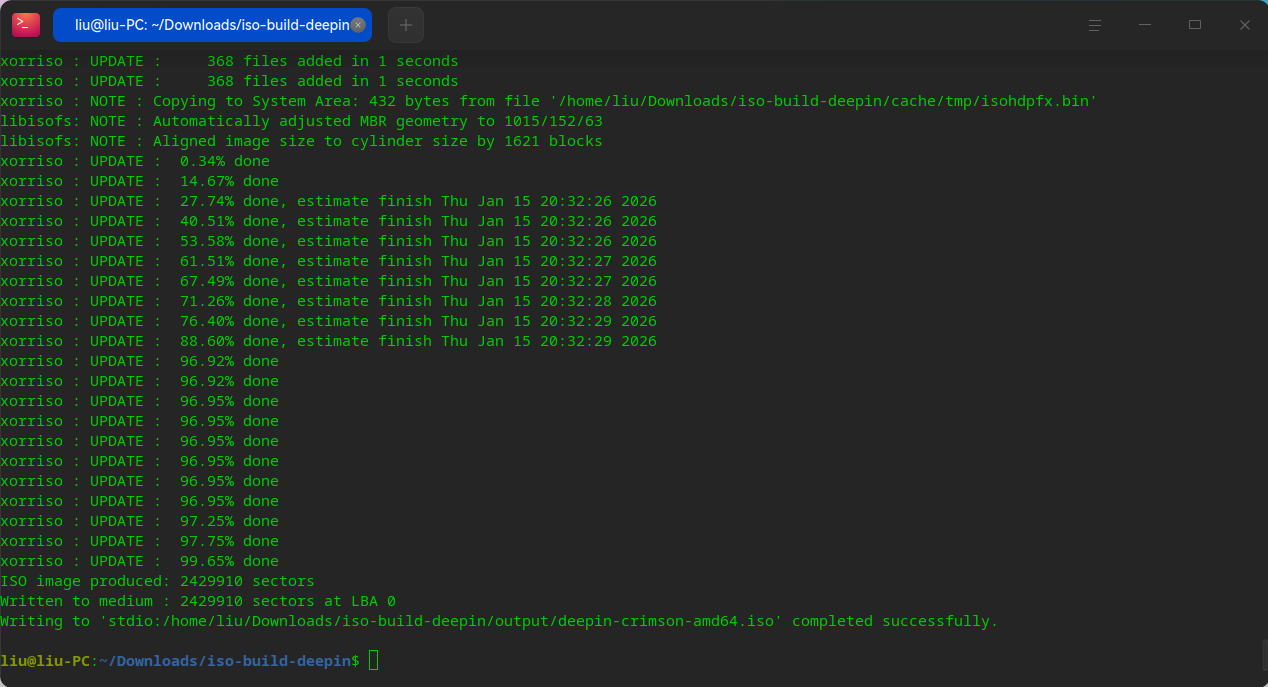
./build amd64
user 用户密码为 live